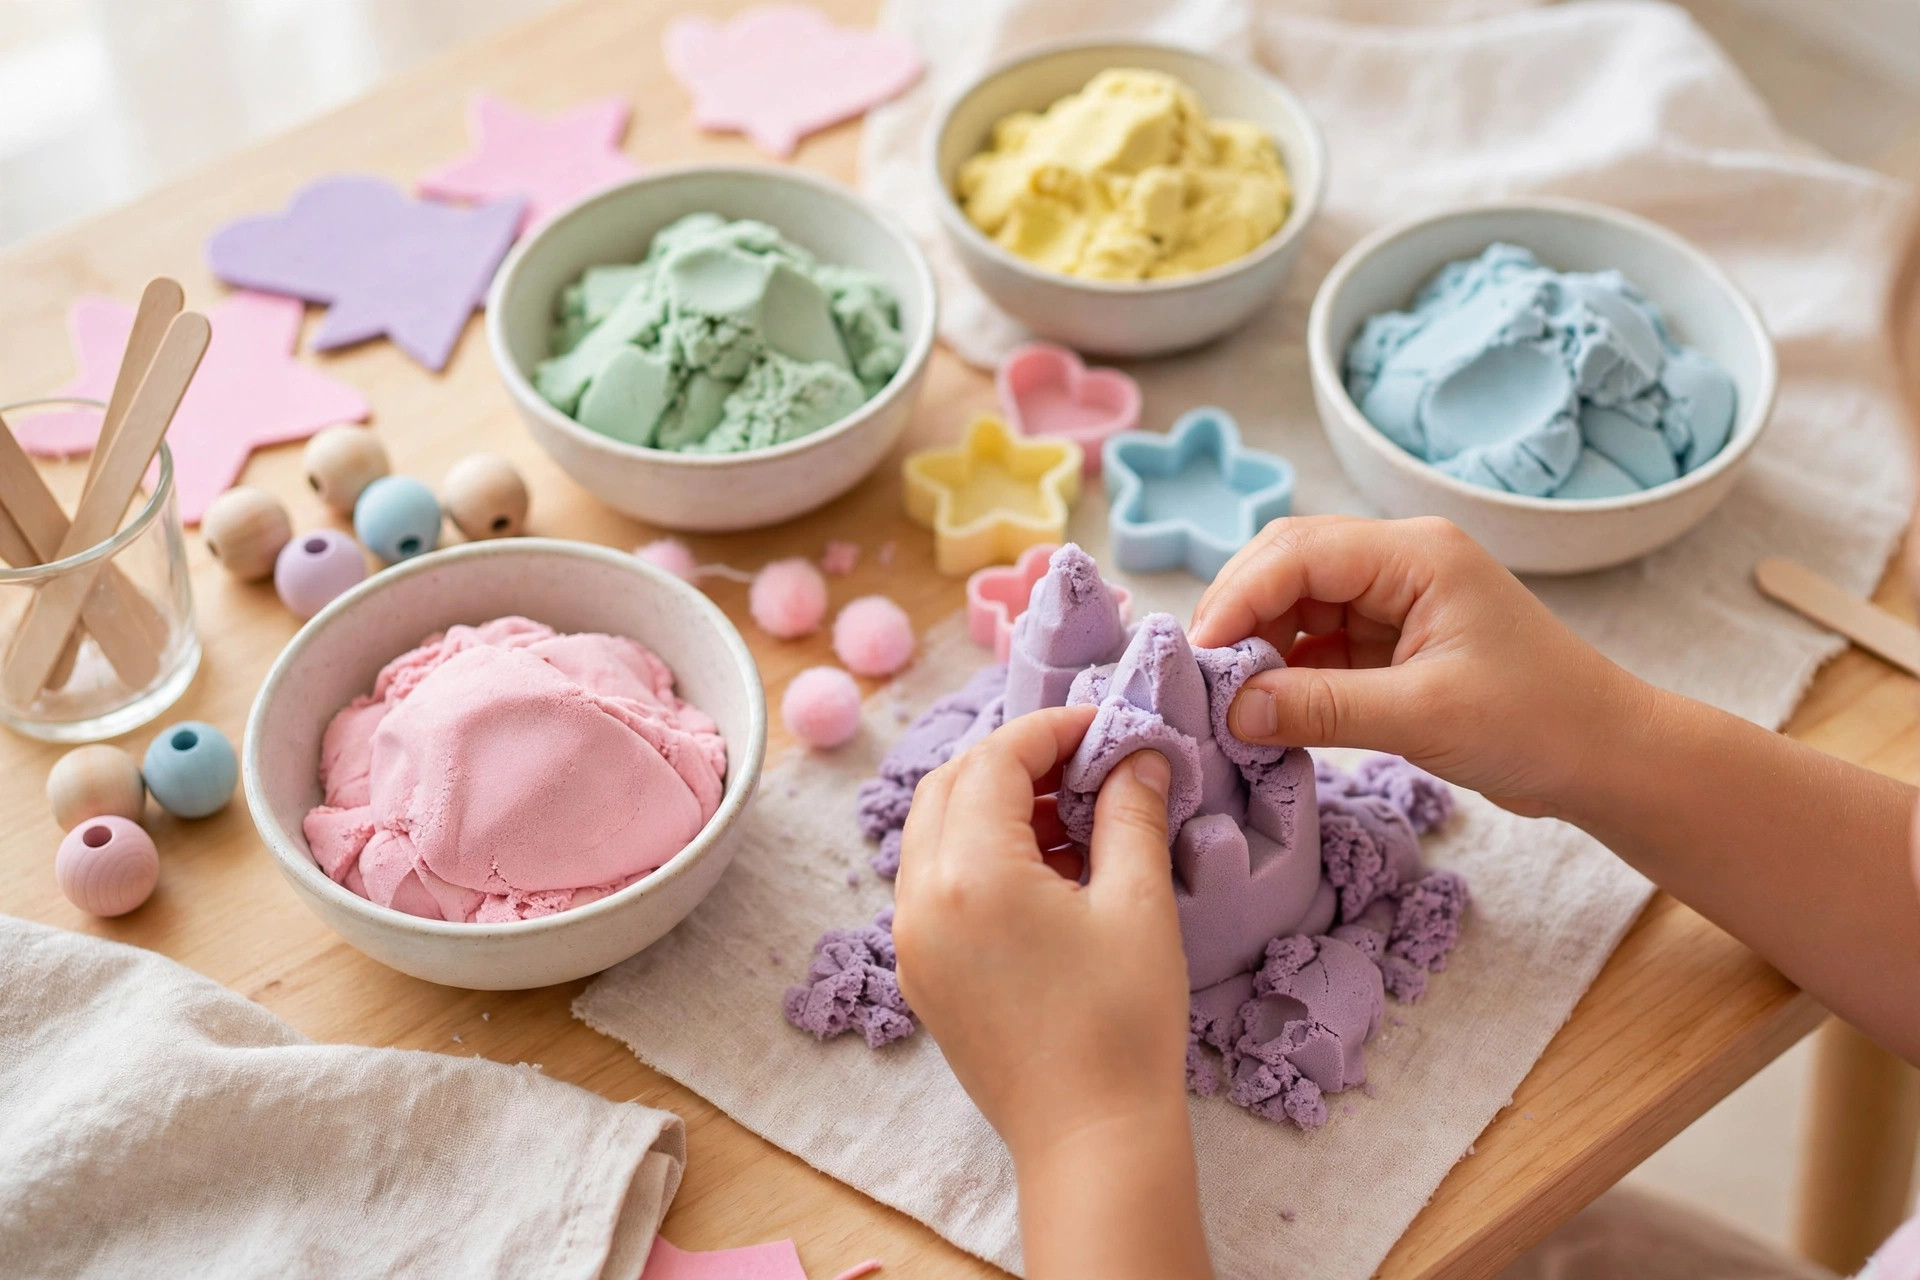
Making sand at home is easier than you think – most recipes need just 2 or 3 cheap ingredients like flour, cornstarch, or play sand from a craft store. Whether you want moldable kinetic sand, soft moon sand for toddlers, or bright colored play sand for a sensory bin, you can mix up a batch in under 10 minutes. Below are three tested recipes with step-by-step instructions, plus pro tips and answers to common questions. 🏖️
Key Takeaways
- Classic DIY kinetic sand needs only 3 ingredients: fine play sand, cornstarch, and soapy water.
- Moon sand is the simplest recipe of all – just flour and oil, and it is taste-safe for toddlers.
- Add liquid slowly and mix as you go; it is much easier to fix dry sand than soggy sand.
- Store homemade sand in an airtight container and it will stay fresh for months.
- Gel food coloring or powdered tempera paint gives the brightest colors without staining hands.
1. Recipe 1: Classic DIY Kinetic Sand
This is the recipe most people are looking for when they search how to make sand. It molds like wet beach sand, holds its shape, and crumbles satisfyingly when you squeeze it – but unlike beach sand, it never really dries out. You will need basics from the craft store and your kitchen:
- 3 cups fine play sand
- 2 tablespoons cornstarch
- 1 teaspoon dish soap
- 1 cup water
- Food coloring (optional)
1. Mix the sand and cornstarch
Pour the play sand into a large mixing bowl. If your sand feels damp at all, spread it on a baking sheet and bake at 250 F for 20 minutes first, then let it cool completely. Add the cornstarch and stir until the two are fully mixed with no white streaks left.
2. Make the soapy water solution
In a separate cup, mix 1 cup of water with 1 teaspoon of dish soap until you see bubbles on the surface. The soap is the secret ingredient: it coats each grain of sand so the mixture sticks together and moves like real kinetic sand. Keep this solution handy – you will not need all of it.
3. Add color to the liquid
Add 8 to 10 drops of food coloring to the soapy water and stir well. The color looks darker in the water than it will in the finished sand, so be generous here. Want to compare methods before you commit? This recipe walks through a similar glue-free version with slightly different ratios.
4. Combine everything slowly
Slowly pour a little of the colored solution into the sand while stirring. Aim for the texture of thick, damp beach sand – it should hold its shape when squeezed, not drip. Stop adding liquid the moment it clumps together; you probably will not use the whole cup.
5. Knead and play
Knead the sand with your hands for a minute to work everything in evenly. Then grab cookie cutters, plastic molds, or just your hands and play! Store it in an airtight container or zip bag between play sessions. 🎉
2. Recipe 2: 2-Ingredient Moon Sand (Taste-Safe)
No sand in the house? No problem. Moon sand uses only flour and oil, which means it is completely taste-safe for little ones who still put things in their mouths. It has a soft, crumbly texture that is perfect for toddlers.
- 4 cups all-purpose flour (or rice flour)
- 1/2 cup coconut or vegetable oil
- Food coloring (optional)
1. Mix flour and oil
Pour the flour into a big bowl and drizzle in the oil – melted coconut oil or plain vegetable oil both work great. If you want colored moon sand, mix a few drops of food coloring into the oil before adding it; the color spreads much more evenly this way.
2. Adjust the texture
Mix with your hands until the texture feels like damp sand that holds together when you squeeze it into a ball. If it crumbles apart too easily, add oil one tablespoon at a time. If it feels greasy, sprinkle in a little more flour.
3. Set up and play
Spread the moon sand in a baking tray or shallow bin and let the kids dig in. Add shells, scoops, and small cups for hours of sensory play. It stores well for months in a sealed container.
3. Recipe 3: Bright Colored Play Sand
Colored play sand turns an ordinary sensory bin into a rainbow playground. This method dyes real sand instead of making it from scratch, so you keep that authentic gritty texture with bright, vivid color.
- 2 cups fine white play sand
- Gel food coloring or powdered tempera paint
- 1 tablespoon water
- Zip-top bags
1. Bag the sand
Divide your sand into zip-top bags, one bag per color. Working in bags keeps the mess contained and lets kids help with the shaking part – which is honestly the most fun step. 🌈
2. Add color and shake
Add a few drops of gel food coloring (or a teaspoon of powdered tempera paint) plus a tablespoon of water to each bag. Seal the bag tightly and knead and shake until the color is even. Powdered tempera paint gives brighter color and is less likely to stain hands than liquid dye.
3. Dry and store
Spread the colored sand on a tray lined with paper towels and let it dry for a few hours, stirring once or twice. Once fully dry, it is ready for sensory bins, art projects, or layering in pretty jars.
4. Tips for Perfect Homemade Sand Every Time
These little tricks make the difference between okay sand and great sand:
- Always add liquid a spoonful at a time. You can rescue dry sand in seconds, but fixing soggy sand means starting the dry mix over.
- If kinetic sand dries out after a few weeks, revive it with a splash of soapy water and a good knead.
- Play on a baking tray or in a shallow bin to keep the mess in one place.
- Let kids help measure and mix – it is basically a science lesson disguised as playtime.
- Keep different colors in separate containers so they do not blend into brown.
5. Frequently Asked Questions
Is homemade kinetic sand safe for toddlers?
The classic recipe with real sand is best for ages 3 and up, since little ones may try to eat it. For babies and toddlers, make moon sand instead – it is just flour and oil, so it is completely taste-safe. Either way, always supervise play and remind kids that it is not food.
How long does DIY kinetic sand last?
Stored in an airtight container or zip bag, homemade kinetic sand easily lasts 3 to 6 months. It may dry out a little over time – just sprinkle in some soapy water and knead it back to life. If it ever smells off or looks discolored, toss it and make a fresh batch.
Can I make kinetic sand without cornstarch?
Yes! Swap the cornstarch for an equal amount of flour, or try a glue-based version that uses school glue and liquid starch instead. The flour swap is the closest match – the texture comes out slightly softer but still moldable. Every brand of sand behaves a bit differently, so do not be afraid to adjust.
Why is my kinetic sand too sticky or too dry?
Sticky sand means too much liquid – mix in a handful of dry sand and cornstarch to fix it. Crumbly, dry sand means not enough liquid – add the soapy water a teaspoon at a time until it holds its shape. The sweet spot is when it clumps in your fist but crumbles when poked.
What kind of sand should I buy for these recipes?
Fine, white craft or play sand from a craft store works best – it is clean, soft, and takes color beautifully. Avoid beach or playground sand, which can contain bacteria, sharp bits, or moisture. A small bag is cheap and makes several batches.
Conclusion
Learning how to make sand at home is one of those parenting wins that costs almost nothing and buys hours of happy, focused play. Start with classic kinetic sand for the wow factor, try moon sand for the littlest hands, and dye a batch of rainbow sand when you want to level up the sensory bin. Happy crafting! 🏖️

I’m Lydia Laughlin, founder of Punvio, where I craft clever puns, witty wordplay, and humor-filled content to make your day brighter—one laugh at a time.