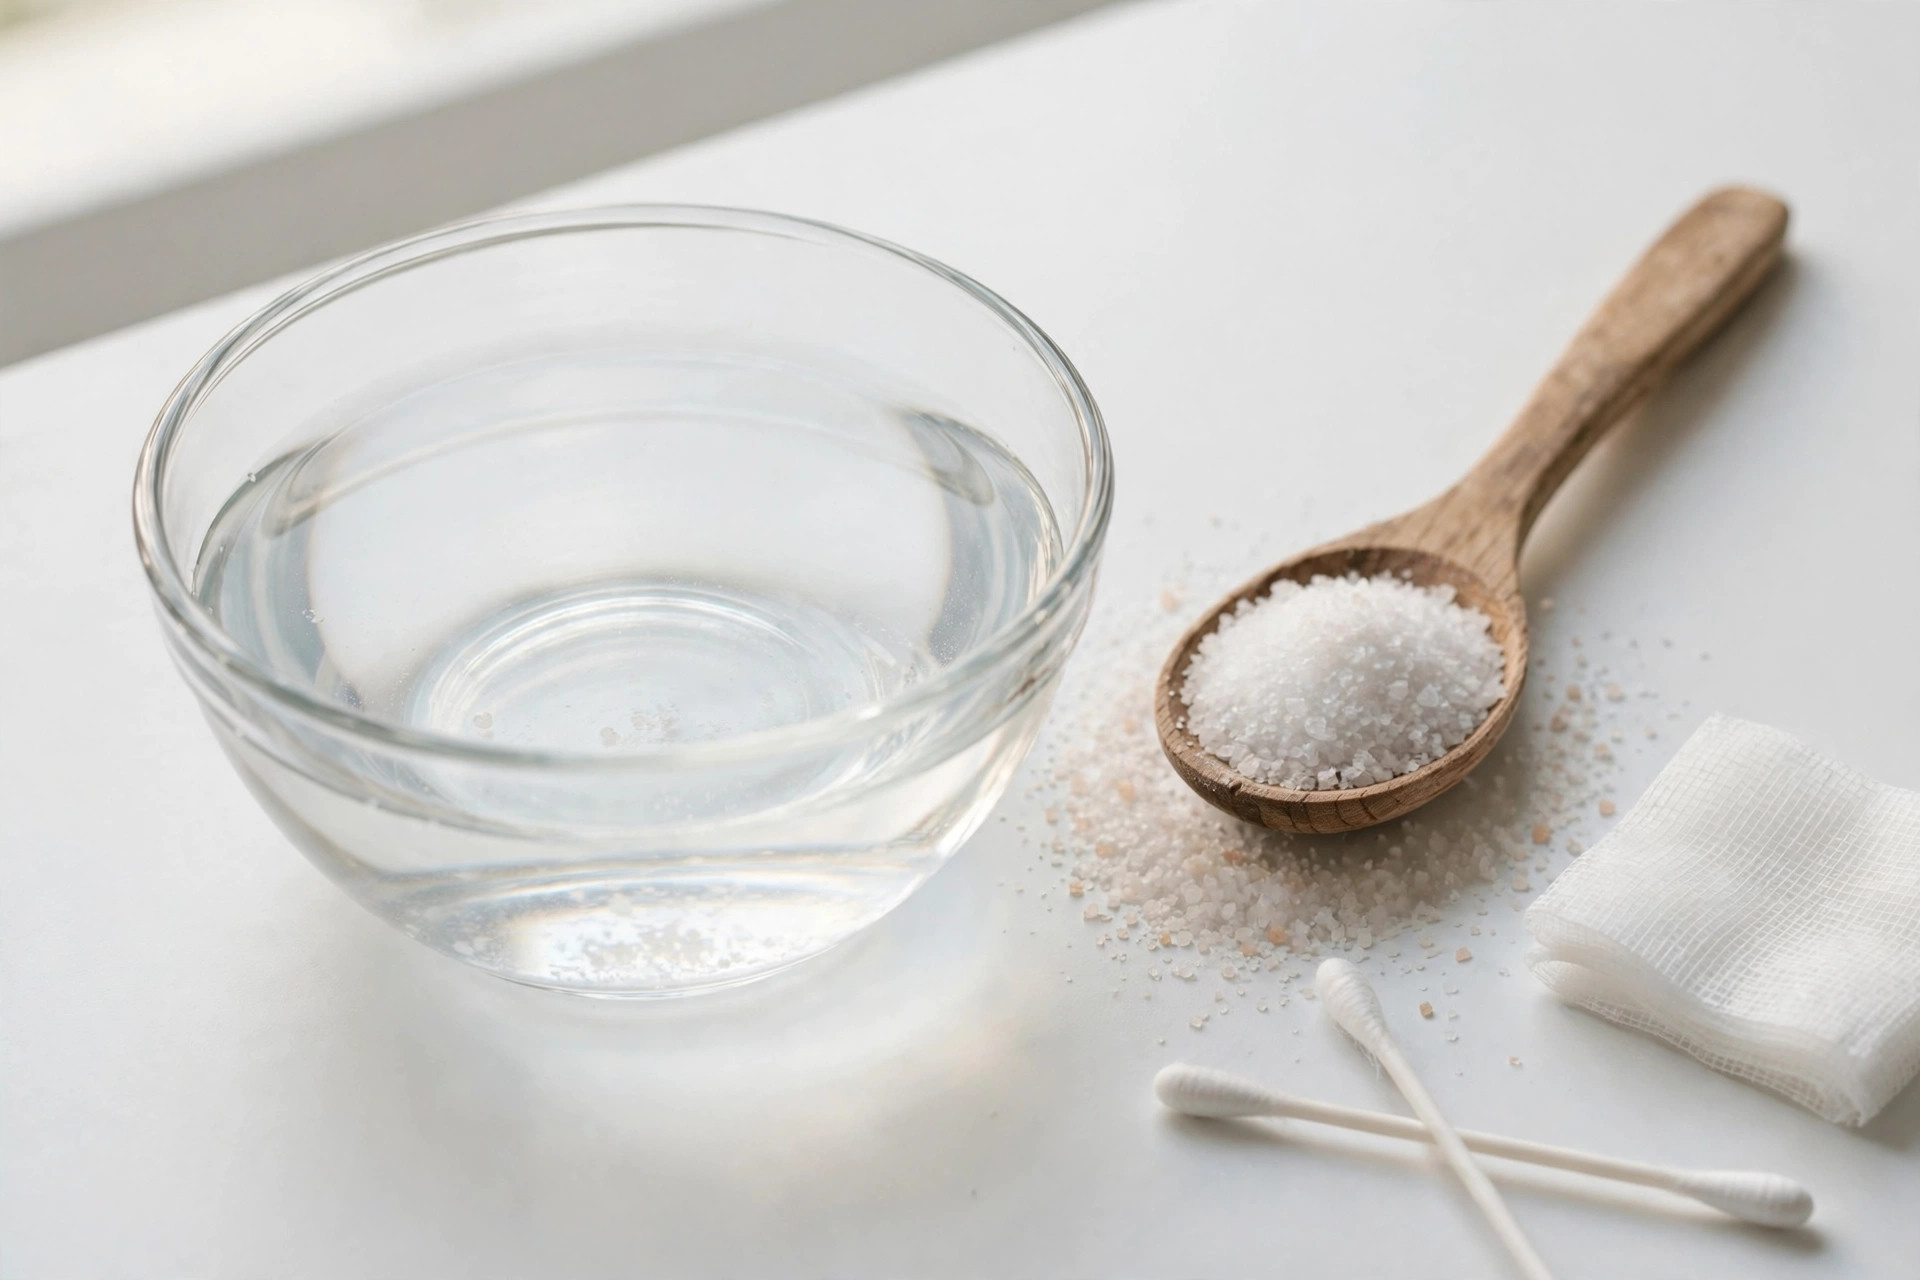
Learning how to make saline solution for piercings is one of the most important things you can do for your new piercing. The right homemade saline rinse is a gentle, sterile mix of non-iodized sea salt and distilled water that keeps your piercing clean and helps it heal faster. In this guide, you will get the exact recipe, a step-by-step method, and the mistakes you must avoid so your piercing heals without infection or irritation.
Key Takeaways
- The safe ratio is 1/4 teaspoon of non-iodized sea salt per 1 cup (8 oz) of distilled or bottled water.
- Always use distilled or bottled water, never tap water, and bring it to a boil before mixing.
- Clean your piercing with saline twice a day and keep your hands washed before touching it.
- Homemade saline stays safe for about 2 to 3 days in the fridge, then you should make a fresh batch.
- Never use table salt, alcohol, or hydrogen peroxide on a piercing because they irritate the wound and slow healing.
1. What You Will Need
Before you start, gather a few simple supplies. Using the wrong salt or water is the most common reason a homemade rinse fails, so choose carefully.
The Supplies List
- Non-iodized sea salt. Fine sea salt or pickling salt works well. Make sure the label says “non-iodized” and has no anti-caking agents, which can irritate a healing piercing.
- Distilled or bottled water. Distilled water is the safest choice because it is free of chlorine, minerals, and bacteria. Bottled water is the next best option.
- A clean pot and measuring set. Use a 1/4-teaspoon spoon and a 1-cup measure so your ratio is exact.
- A clean glass jar with a lid. Wash it with hot soapy water and rinse it well first.
That is all it takes. Professional aftercare guides, including the one published by Healthline, recommend this same basic sea salt and water approach for homemade saline.
2. The Exact Recipe
Getting the salt-to-water ratio right is the whole game. Too little salt cleans poorly, and too much burns healing tissue. The sweet spot is simple.
The Magic Ratio
Mix 1/4 teaspoon of non-iodized sea salt into 1 cup (8 ounces or 240 ml) of distilled or bottled water. That is it. Never double the salt for a “stronger” rinse, it will only irritate your piercing.
This proportion mirrors your body’s natural salinity, which is why piercers call it isotonic saline. It is gentle enough for twice-daily use over months of healing.
3. Step-by-Step: How to Make Saline Solution
Follow these steps in order. The whole process takes about ten minutes.
Step 1: Boil the Water
Pour 1 cup of distilled or bottled water into your clean pot and bring it to a rolling boil for about five minutes. Boiling kills any bacteria so your rinse is as clean as possible.
Step 2: Add the Salt
Remove the pot from the heat and stir in 1/4 teaspoon of non-iodized sea salt. Stir until every grain dissolves completely. There should be no grit at the bottom of the pot.
Step 3: Let It Cool
Let the solution cool to a lukewarm temperature before it touches your piercing. Hot liquid can burn healing skin and cause painful swelling.
Step 4: Pour Into Your Jar
Pour the cooled solution into your clean glass jar and close the lid. Label the jar with the date so you know when to toss the leftovers and make a fresh batch.
4. How to Use Saline Solution on Your Piercing
Making the solution is only half the job. Using it correctly matters just as much, especially in the first few weeks when the piercing is most vulnerable to infection.
The Twice-Daily Cleaning Routine
- Wash your hands with soap and warm water before you touch your piercing or the solution. This single habit prevents most infections.
- Soak a clean gauze pad or paper towel in the warm saline. Press it gently against the piercing for 3 to 5 minutes. This loosens crust and softens buildup without scrubbing.
- Wipe away softened crust with gentle strokes, moving outward from the jewelry. Never pick at dry crust with your fingers.
- Rinse or spray the area with a little more saline to wash away any residue, then pat dry with a fresh paper towel. Cloth towels can harbor bacteria and snag jewelry, so paper is better.
The Salt Water Soak Method
For ear and some body piercings, a warm soak works even better than wiping. Fill a small clean cup with warm saline and hold the piercing submerged for about five minutes. Do this once a day along with your two regular cleanings.
5. How to Store It Safely
Homemade saline has no preservatives, so store your jar in the refrigerator and use it within 2 to 3 days. Before each use, pour what you need into a separate small cup and never dip gauze directly into the storage jar. If the liquid looks cloudy, toss it and start over.
6. What NOT to Do: Safety Warnings
A bad aftercare product can set your healing back by weeks. Never use these on a new piercing.
- Do not use table salt. It contains iodine and anti-caking chemicals that irritate healing tissue.
- Do not use alcohol or hydrogen peroxide. They kill bacteria but also destroy the new cells your body is building, which slows healing.
- Do not use contact lens saline. It is made for eyes, not wounds, and often contains preservatives that irritate piercings.
- Do not touch the piercing with unwashed hands. Your hands carry bacteria everywhere, and a fresh piercing is an open wound.
- Do not twist or rotate the jewelry. This tears the delicate new tissue inside the piercing channel. Leave the jewelry still.
- Do not remove the jewelry early. A new piercing can start closing within minutes, trapping irritation or infection inside.
Watch for spreading redness, thick yellow or green discharge, severe pain, or fever. If you notice these, keep the jewelry in and see a doctor or your piercer right away.
7. Frequently Asked Questions
Can I use tap water to make saline solution for piercings?
You should not use tap water. It contains chlorine, minerals, and sometimes bacteria that can irritate a healing piercing. Always use distilled or bottled water, and boil it first for the safest result.
How long does homemade saline solution last?
Homemade saline solution lasts about 2 to 3 days when stored in a clean, sealed jar in the refrigerator. Since it has no preservatives, bacteria can grow in it over time, so always make a fresh batch after three days.
Can I use Himalayan pink salt for piercing saline?
Plain Himalayan pink salt that is non-iodized and free of additives can work, but fine sea salt is the safer choice because it dissolves more completely. Whatever salt you use, make sure it has no iodine, fragrances, or anti-caking agents.
How often should I clean my piercing with saline?
Clean your piercing with saline solution twice a day until it is fully healed, which can take several months depending on the piercing type. You can add one warm soak per day for extra soothing, but over-cleaning can dry out the skin, so stick to the twice-daily routine.
Is store-bought saline better than homemade?
Store-bought sterile saline wound wash is the most convenient and most sterile option because it comes in a sealed pressurized can. However, a properly made homemade solution with the correct ratio is also effective and much cheaper. Many people use homemade saline daily and keep a can of sterile saline for travel.
Conclusion
Making your own saline solution for piercings is easy, cheap, and one of the best things you can do for fast healing. Remember the golden ratio of 1/4 teaspoon of non-iodized sea salt per cup of boiled distilled water, clean twice a day with washed hands, and keep harsh products away from your new piercing. If anything looks or feels wrong, talk to your piercer or a doctor right away. 🌿

I’m Daniel Moja, the expert behind Punvio.com, where I share the funniest, wittiest, and most creative puns to make your day brighter.
Explore my handpicked wordplay and laugh along with me!