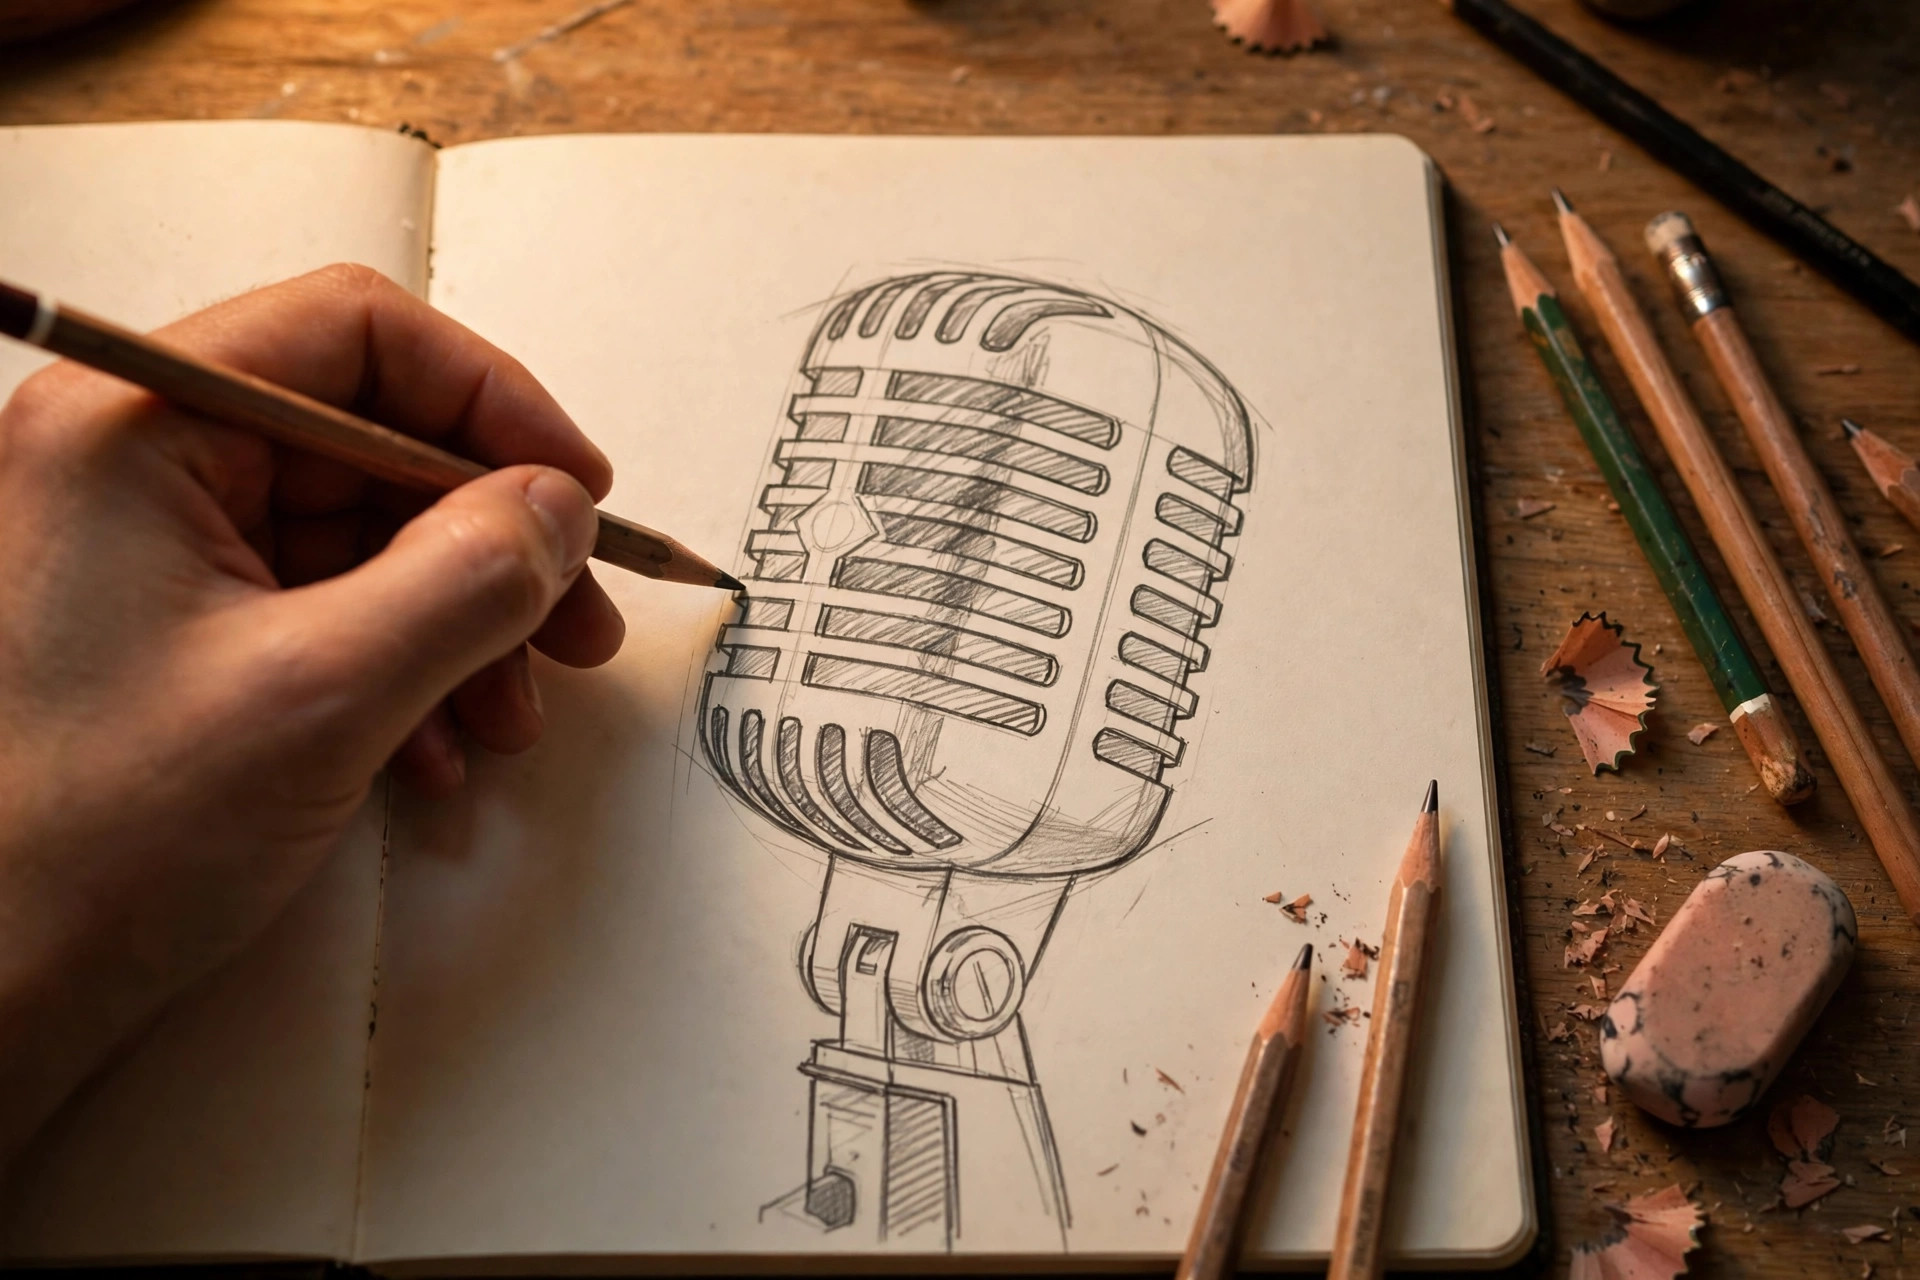
To draw a microphone, start with a circle for the head of the mic, sketch the mesh grille inside it, then add a tapered body and a handle below. That simple three-part shape – head, grille, and handle – is the foundation of almost every microphone sketch, from classic vintage mics to modern podcast mics. You only need a pencil, an eraser, and a little patience to get a great result in under 10 minutes.
Key Takeaways
- Start with a circle for the mic head, then draw the body and handle.
- Add a mesh grille with light curved lines for a realistic look.
- Use light sketch lines first, then darken the final outline.
- A vintage mic uses a rounded cage shape; a modern mic is slimmer.
- Small details like buttons and shading make the drawing pop.
1. Supplies You Will Need
Before we start drawing, let’s gather everything. The good news is that a microphone drawing does not need fancy tools. A regular HB pencil works great for the sketch, and a darker pencil or fineliner helps with the final outline. Grab an eraser for cleaning up guide lines and a ruler if you want a straight handle. Plain white paper is perfect, but a sketchbook gives smoother results. Optional extras include colored pencils or markers for a colorful finish and a blending stump or tissue for soft shading.
2. Draw the Microphone Head
1. Sketch the Basic Circle
Begin with a light, rough circle near the top center of your page. This circle becomes the microphone’s head, the part that picks up sound. Keep your hand relaxed and don’t press hard – this is just a guide you will refine later.
2. Divide the Circle
Draw a straight horizontal line across the lower third of the circle. The top two-thirds will be the mesh grille, and the small bottom section will connect to the body. This line keeps your proportions tidy from the start.
3. Add the Mesh Grille
Inside the top part of the circle, draw a series of gently curved vertical lines, then cross them with curved horizontal lines. This crisscross pattern creates the wire mesh look of a real mic. Keep the lines light and evenly spaced for the cleanest result.
4. Draw the Rim Band
Just below your horizontal dividing line, draw a slightly curved band following the circle’s shape. This band is the metal ring that holds the grille in place on most handheld microphones. Darken it a little to give the mic a solid, sturdy feel.
3. Draw the Body and Handle
1. Sketch the Tapered Body
From the bottom of the head, draw two lines that angle slightly inward as they go down. These form the mic’s tapered body. The body should be about the same length as the head’s diameter for balanced proportions.
2. Add the Handle
Continue the two lines downward in a straighter, longer shape to form the handle. Round off the bottom end with a small curve. Most microphone handles are long and slim, roughly twice the length of the body.
3. Add the On/Off Switch
Near the middle of the handle, draw a small rectangle or a tiny circle for the on/off switch. This little detail instantly tells the viewer what the object is, even before the drawing is finished.
4. Clean Up and Finalize the Outline
Carefully erase all your light guide lines, then go over the final shape with darker, confident strokes. Use a fineliner or press a bit harder with your pencil to define the outline. For extra polish, you can check a step-by-step drawing reference to compare your proportions against a professional example.
4. Shading and Details
1. Add Light Shading
Pick a light source direction, usually the top left. Shade the right side of the head and handle lightly, leaving a bright highlight strip along the left edge. Soft shading makes a flat sketch look round and three-dimensional.
2. Add Small Details
Tiny touches bring your mic to life. Add a small logo or brand mark on the body, a couple of thin lines for grip texture on the handle, and a short cable curving from the bottom if you want a wired mic. A few simple sound waves or music notes around the mic can add playful context.
3. Color Your Microphone (Optional)
If you want color, classic mics look great in silver and gray with a black handle. You can also try a bold red, blue, or gold body for a stage-style look. Color the grille mesh in a darker shade and leave white highlights for a metallic shine.
5. Drawing Variations
1. Vintage Microphone
A vintage mic has a tall, rounded cage head instead of a simple circle. Draw an elongated oval or capsule shape for the head, then fill it with vertical grille lines. Vintage mics often sit on a small stand, so add a short neck and a round or triangular base below the handle. These old-school mics look amazing in black and gold.
2. Modern Podcast Microphone
Modern podcast mics are sleeker and often bigger. Draw a wide, chunky capsule or rounded rectangle for the head, a shorter thick body, and sometimes no handle at all – just a shock mount with elastic bands and a stand arm. Keep the lines smooth and minimal for that high-tech look.
6. Frequently Asked Questions
Is it hard to draw a microphone?
Not at all. A microphone is one of the easiest objects to draw because it is built from basic shapes: a circle for the head and tapered lines for the body and handle. Even complete beginners can get a recognizable mic in a few minutes.
What is the hardest part of drawing a microphone?
The mesh grille usually takes the most care, since it needs even crisscross lines. The trick is to keep your lines light at first and space them evenly. If they look uneven, just erase and try again – nobody gets it perfect on the first try.
How do I draw a cartoon microphone?
For a cartoon style, make everything rounder and chunkier: a big circle head, a short stubby handle, and simple curved grille lines. Add a happy face or musical notes around it for a fun, playful vibe. Thicker outlines help cartoon drawings stand out.
What pencils should I use for drawing?
An HB pencil is perfect for sketching, and a 2B or 4B pencil gives rich dark outlines and shading. A fineliner or pen works well for the final inked outline if you want crisp lines.
How long does it take to draw a microphone?
A simple microphone sketch takes about 10 minutes. A detailed version with shading, a vintage cage design, or full color can take 20 to 30 minutes. Start simple and add detail as your confidence grows.
Can kids draw a microphone easily?
Yes, this is a great beginner project for kids. The circle-and-lines structure is simple enough for young artists, and they can decorate their mic with bright colors, stickers-style doodles, and musical notes. 🎨
Conclusion
Drawing a microphone is all about breaking it down into simple shapes: circle the head, crosshatch the grille, taper the body, and finish with a handle. With light sketch lines first and bold outlines last, you will have a clean, professional-looking mic drawing in minutes. 🎤 Practice the vintage and modern variations too, and soon you will be sketching mics from memory like a pro.

I’m Daniel Moja, the expert behind Punvio.com, where I share the funniest, wittiest, and most creative puns to make your day brighter.
Explore my handpicked wordplay and laugh along with me!