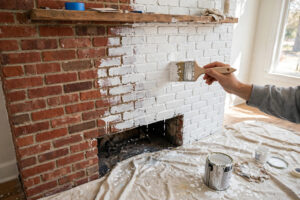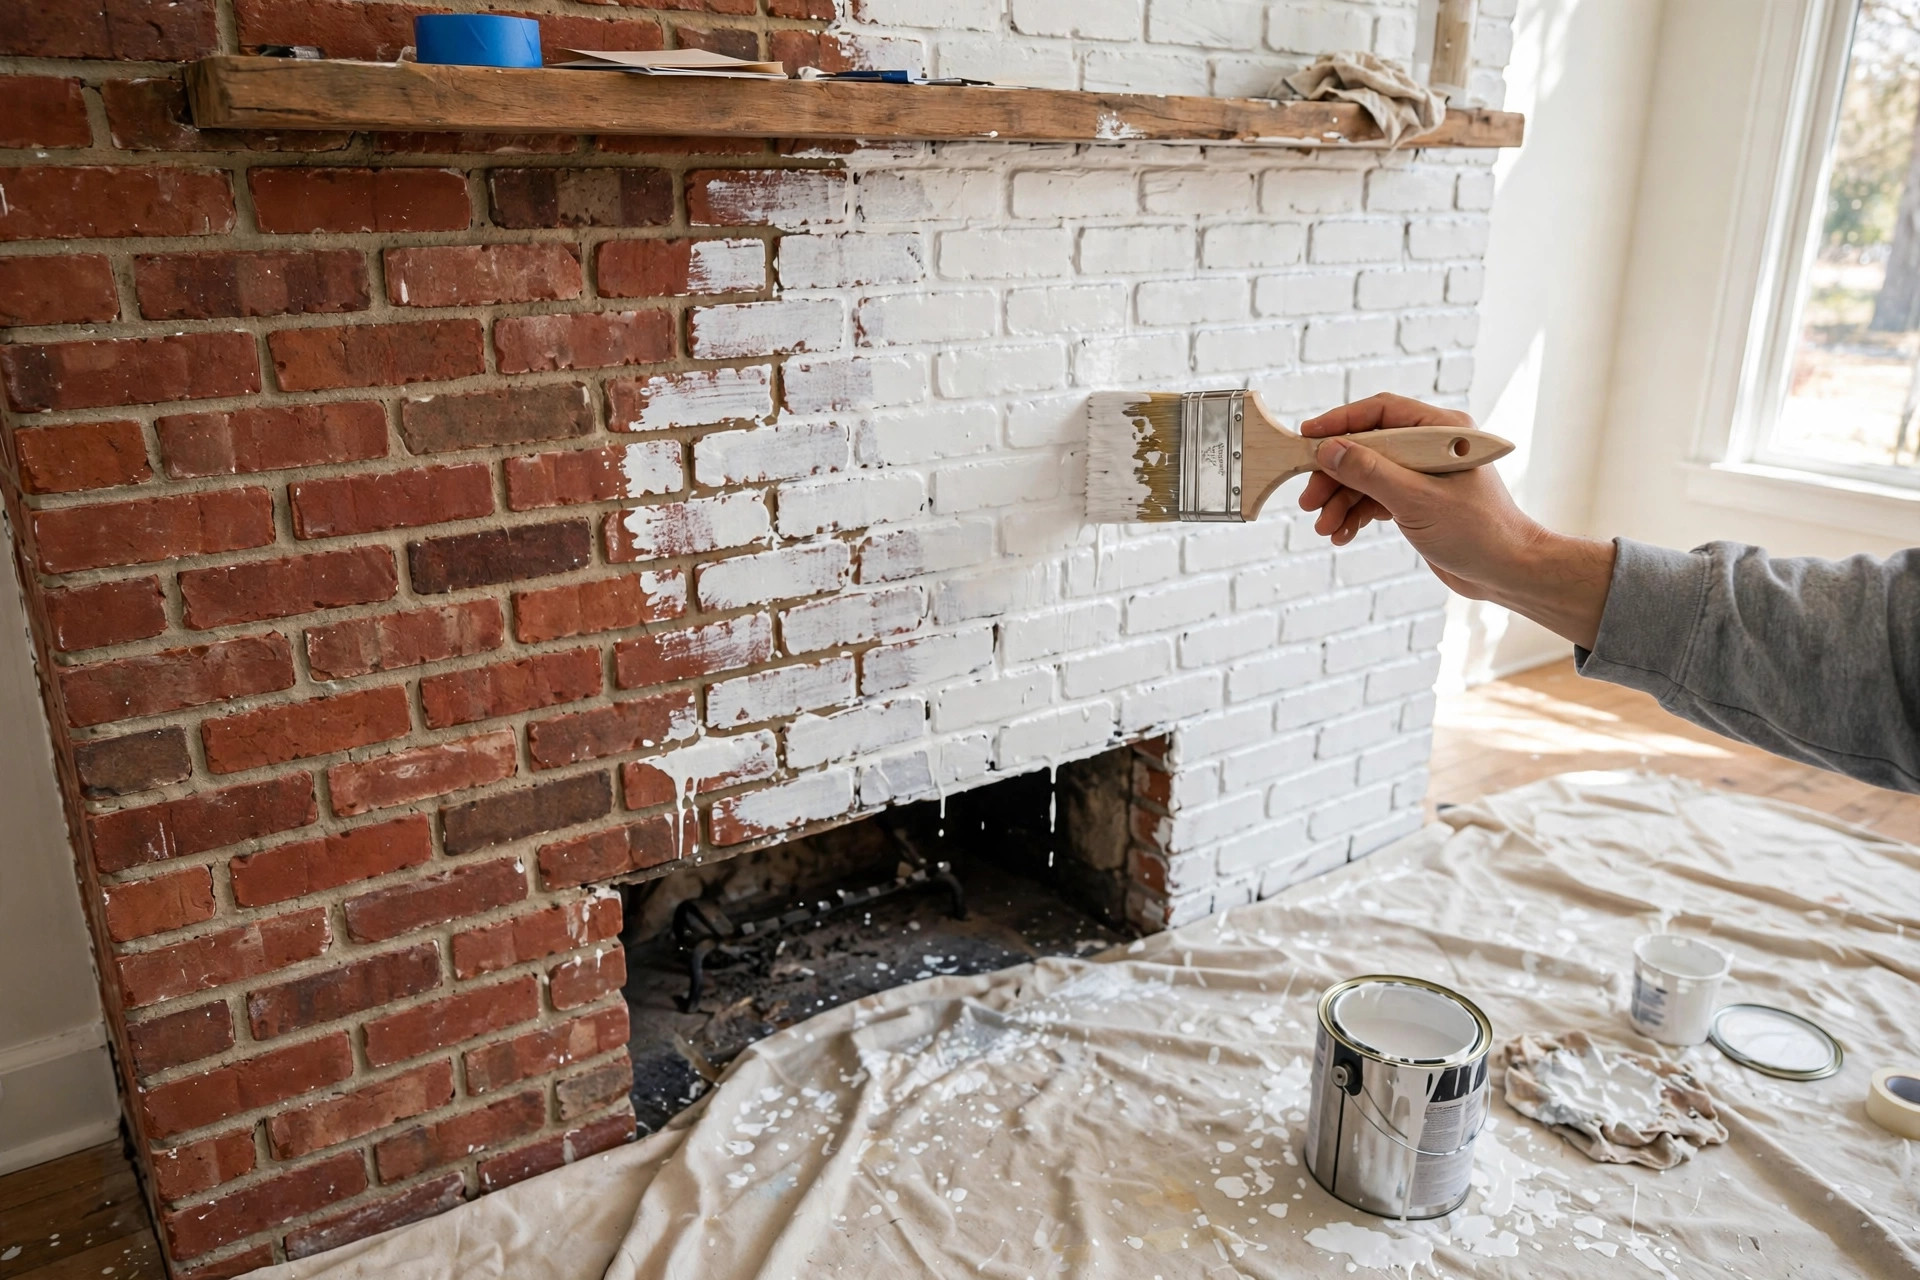
Whitewashing brick is one of the easiest ways to give a dated fireplace or tired brick wall a fresh, modern look in a single weekend. Instead of covering your brick with a solid coat of paint, you thin white paint with water and brush it on so the brick’s natural texture and color peek through. The result is a soft, charming finish that feels both rustic and clean, and you can control exactly how much of the original brick shows.
Key Takeaways
- Whitewashing brick means brushing thinned white paint over brick so the texture still shows through.
- Mix flat white latex paint and water in a 1:1 ratio, then adjust for more or less coverage.
- Always clean the brick with soap and water before you start, so the wash bonds properly.
- Wipe back the wet wash with a damp rag to reveal more brick wherever you want a weathered look.
- Work in small sections and step back often to keep the finish even across the whole wall.
1. What Is Whitewashing?
Whitewashing is an old technique that goes back centuries. Originally it was a simple mix of lime and water used to brighten up brick, stone, and wood. Today, most homeowners use thinned latex paint instead, which is easier to mix and far more predictable.
The charm of whitewash is that it is not paint in the usual sense. Because the mixture is mostly water, it sinks into the brick’s pores and creates a translucent veil of white rather than a solid color. You get brightness without losing the brick’s character, which makes it perfect for dark red-brick fireplaces, tired accent walls, or exterior brick that needs a farmhouse-style refresh.
Whitewash also costs very little, using mostly paint you already have plus water and basic supplies. Most interior projects take a few hours, not days. It is a genuinely beginner-friendly DIY, and mistakes are forgiving because you can wipe the mixture away while it is wet. 🏡
2. What You Will Need
Before you touch a brush, gather everything so you are not running to the store mid-project. Here is the basic kit for whitewashing brick with paint:
- Flat white latex paint (skip glossy finishes, they will not look natural)
- A clean bucket for mixing
- Water
- A wide paintbrush or masonry brush
- Clean rags or old towels
- A paint stir stick
- Painter’s tape and drop cloths
- A spray bottle filled with water (for rewetting as you work)
- Rubber gloves
If your brick is greasy or sooty, especially on a fireplace, add a stiff scrub brush and an all-purpose degreasing cleaner to the list. A clean surface is the secret to a wash that actually sticks.
3. How to Whitewash Brick, Step by Step
Take it one section at a time and you will be amazed at how quickly this project moves. Here is the full process from prep to final touch-ups.
1. Clean the Brick Thoroughly
Start by scrubbing the brick with warm water and a mild degreasing cleaner. Soot, dust, and grease will stop the wash from soaking in evenly, leaving blotchy patches. Use a stiff brush on fireplaces and rinse with a damp rag. Let the brick dry completely before you move on.
2. Mix Your Whitewash
Pour equal parts flat white latex paint and water into your bucket and stir well. You are aiming for a thin, milky consistency. A 1:1 ratio is the classic starting point, but you can add more water for a sheerer look or more paint for heavier coverage. If you want a second opinion on the technique, This Old House published a helpful guide that covers the same paint-based method.
3. Protect the Surrounding Area
Tape off trim, mantels, floors, and anything you do not want whitewashed. Lay down drop cloths generously, because thin paint drips more than regular paint. This step takes ten minutes and saves a lot of cleanup later.
4. Brush On the Wash
Dip your brush into the mixture and apply it to the brick with loose, natural strokes. Work in small sections, roughly two or three feet at a time, so the wash does not dry before you can adjust it. Do not worry about perfection here – whitewash is meant to look a little organic. Cover the mortar lines too, unless you want them to pop through naturally.
5. Wipe Back for the Perfect Look
This is where the magic happens. While the wash is still wet, take a damp rag and lightly wipe or dab the brick. Every pass reveals more of the original color. Wipe more in the centers of the bricks for a sun-faded effect, and leave more wash in the mortar joints for contrast. If you remove too much, just brush on another layer. Step back every few minutes to check the overall balance. ✨
6. Let It Dry and Touch Up
Let the first coat dry fully, usually one to two hours. Dried whitewash looks slightly lighter than wet whitewash, so judge the coverage only after drying. Add a second light coat anywhere the brick looks too bare, or dampen and wipe spots that look too heavy. Once you are happy, remove the tape and admire your work.
4. Tips for a Flawless Whitewashed Finish
A few pro habits make the difference between a decent job and a stunning one. Test your mixture on a hidden spot first, like behind the mantel, so you can adjust the ratio before committing. Work from top to bottom so drips land on unfinished brick instead of dried areas. Keep a spray bottle handy to reactivate the wash if it dries before you wipe it back.
5. Whitewash vs. Paint vs. German Smear
Not sure which treatment your brick needs? Here is a quick comparison so you can pick the right one:
- Whitewash: translucent white layer, brick texture shows through, cheapest, easiest to DIY.
- Solid paint: full coverage hides all color and imperfections, but permanently covers the brick. Harder to reverse.
- German smear: a mortar wash smeared over the brick for a rustic, old-world look. More labor-intensive and costs more in materials.
If you love your brick’s texture but hate its color, whitewash is the sweet spot. If the brick is damaged or heavily stained, solid paint may serve you better. If you want a farmhouse cottage vibe, German smear is worth the extra effort.
6. Frequently Asked Questions
What kind of paint is best for whitewashing brick?
Flat or matte white latex paint works best. Glossy or satin finishes create a plastic-like sheen that ruins the natural whitewash look. Latex is easy to thin with water and clean up afterward.
What is the right paint-to-water ratio for whitewash?
A 1:1 ratio of paint to water is the standard starting point and suits most projects. For a barely-there white veil, use more water. For stronger coverage that still lets some brick show, use slightly more paint.
Do I need to prime brick before whitewashing?
No primer is needed for a classic whitewash look. Primer would seal the brick and block the translucent effect you are after. Just clean the brick well so the wash soaks in evenly.
Can you whitewash brick on the outside of a house?
Yes, but exterior whitewash faces rain and sun, so it may need periodic touch-ups. For longer-lasting exterior results, consider a traditional lime-based whitewash or a mineral sealer over your paint wash.
Is whitewashing brick reversible?
Mostly yes, which is one of its biggest perks. Because the wash is thin and soaks into the surface, sanding or a masonry stripper can remove much of it. That said, it will never come out perfectly, so test first if reversibility matters to you.
Conclusion
Whitewashing brick is one of those rare DIY projects that is cheap, quick, and almost impossible to mess up badly. With just thinned paint, a brush, and a rag, you can transform a heavy red-brick fireplace or wall into a light, modern focal point in an afternoon. Clean well, mix 1:1, work in small sections, and wipe back while wet – that is really all there is to it. So grab your supplies this weekend and give your brick the refresh it deserves. You might be surprised how much brighter your whole room feels. 🎨

I’m Ella Punster, a pun expert, and I create witty, fun, and clever puns ono Punvio to make your day brighter. Explore my unique wordplay and join me in celebrating the joy of humor