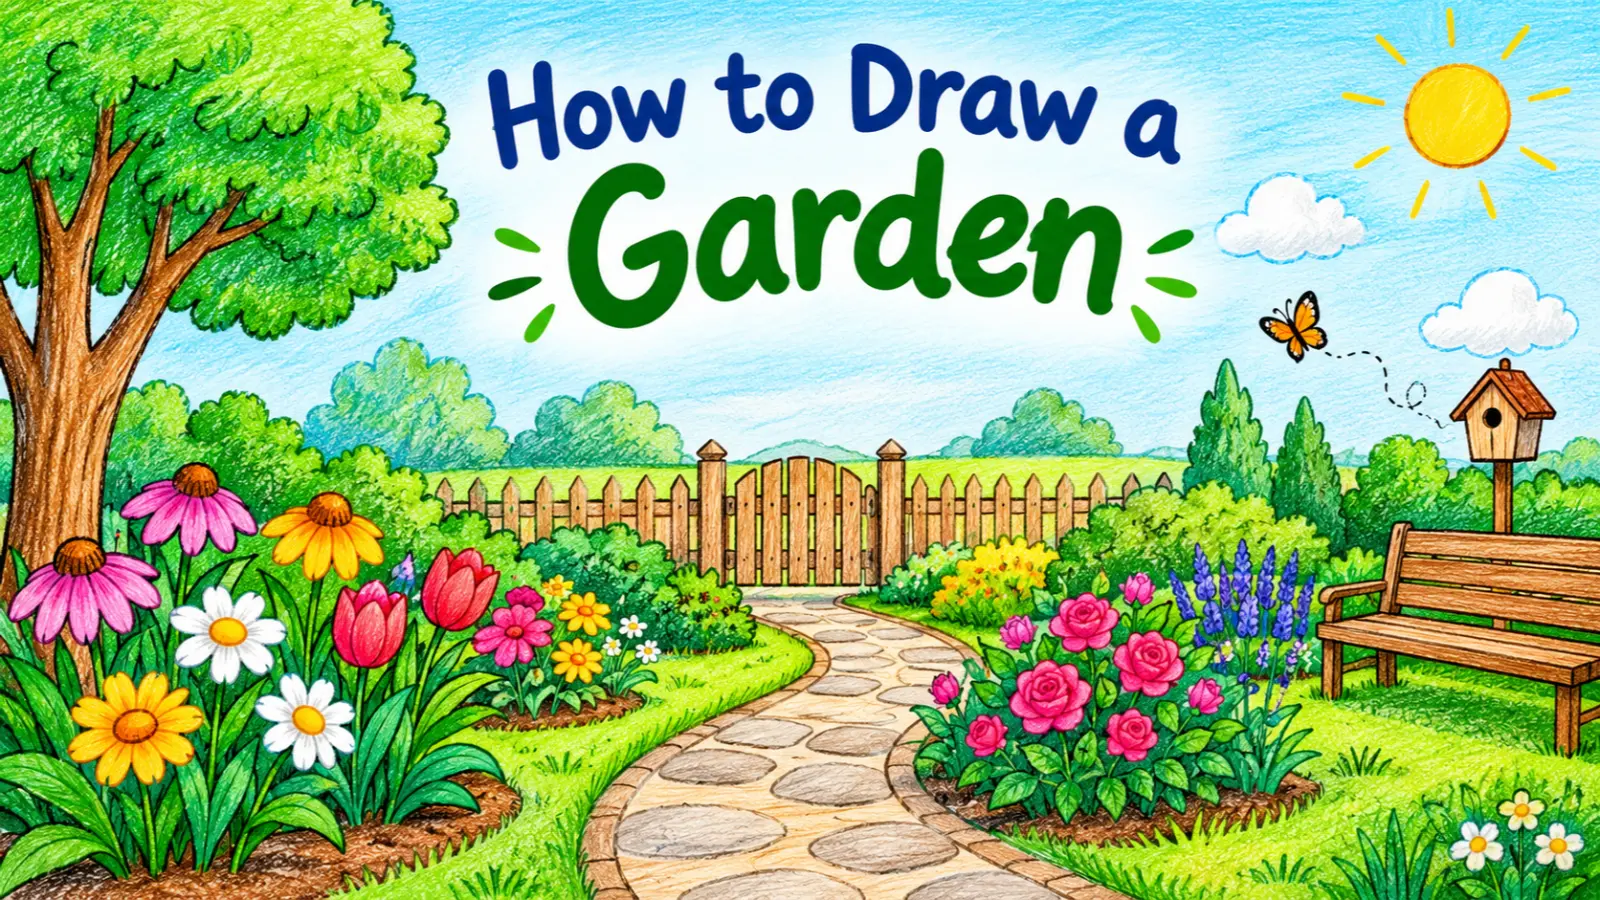
To draw a garden, start by sketching the ground and horizon, then add a winding path, trees, bushes, and flowers.
Draw simple shapes first, refine the outlines, and add details such as grass, leaves, and clouds. Finish by coloring the scene with greens, bright flower colors, and natural shades to create a beautiful garden picture.
Key Takeaways
- Begin with simple shapes before adding small details.
- Use a path, trees, and flowers to build an attractive garden scene.
- Place larger objects in the foreground and smaller objects in the background.
- Choose natural colors and add light shading for depth.
- Keep the first sketch simple, especially if you are a beginner.
Materials You Need to Draw a Garden
Before learning how to draw a garden, gather a few basic art supplies. You do not need expensive materials to make a lovely garden picture.
Here is what you can use:
- Drawing paper: Choose plain white paper with enough room for your scene.
- Pencil: Use an HB pencil to sketch the main shapes.
- Eraser: Remove unwanted lines and correct mistakes.
- Black pen or fine liner: Trace the final outlines if you want a clean finish.
- Coloring pencils or crayons: Add color to flowers, trees, grass, and other details.
- Ruler: Use it if you want to draw a straight fence or garden border.
Quick Tip: Start with a light pencil sketch. It is easier to change the shape or position of an object before you add darker lines and colors.
How to Draw a Garden Step by Step
Follow these six easy steps to create a garden drawing. You can use the same method for a school art project, a relaxing sketch, or a colorful picture for your room.
Step 1: Draw the Ground and Horizon
Place your paper horizontally if you want to draw a wide garden landscape.
Draw a light horizontal line across the page to separate the distant background from the garden in front. You can make this line slightly curved if you want a softer, more natural look.
Next, sketch a few simple shapes behind the garden. Add rounded clouds, distant trees, or a small hill. Keep these shapes light because you will add more details later.
Avoid filling the entire page at this stage. Leave enough open space for the flowers, pathway, and other garden features.
Step 2: Add a Garden Path
A garden path makes your drawing more interesting and helps guide the viewer’s eyes through the scene.
Start near the bottom of the paper and draw two gently curving lines toward a point near the horizon. Keep the lines farther apart at the bottom and closer together near the background. This creates a simple sense of distance.
You can make the path from small stones, bricks, or plain soil. For a stone pathway, draw a few irregular shapes between the two lines.
Leave some space on both sides for flower beds and grass.
Pro Tip: A curved path often makes a garden feel more natural than a perfectly straight path. Keep the curves simple so the rest of your drawing remains easy to complete.
Step 3: Sketch Trees and Bushes
Now add greenery to give your garden height and structure.
Draw one or two tree trunks near the sides of the scene. Use two slightly curved lines for each trunk, then add a rounded or cloud-shaped crown of leaves above it.
For bushes, sketch small connected curves or oval shapes. Place some behind the flowers and others near the fence or path.
Vary the size of the trees and bushes. Larger trees can sit near the edges of the picture, while smaller trees in the distance help create depth.
You do not need to draw every leaf. A few curved lines and patches of green will suggest leafy branches without making the picture too crowded.
Step 4: Draw Flowers and Flower Beds
Flowers are often the most colorful part of a garden drawing.
Start by drawing small circles for the centers of several flowers. Around each circle, add rounded, oval, or pointed petals. You can use different petal shapes to make each flower look unique.
Next, draw a thin stem beneath each flower and add two or three simple leaves. Make some flowers taller than others so the garden does not look too uniform.
Try including a mix of flowers, such as:
- Daisies: A small center surrounded by narrow petals.
- Tulips: Cup-shaped flower heads with long stems.
- Sunflowers: Large round centers with pointed petals.
- Roses: Rounded blooms with curved lines suggesting folded petals.
Group several flowers into beds along the pathway. Draw a curved line around each bed to separate it from the grass.
Step 5: Add Grass, Leaves, and Details
Once the main objects are in place, fill the empty areas with small details.
Draw short upward strokes to represent grass. Add a few scattered stones beside the path, tiny flowers near the front, and extra leaves around the bushes.
If you want a more detailed garden, include a wooden fence, a small gate, a bench, or a birdhouse. Choose only one or two extra features so the garden remains the main focus.
You can also add butterflies or birds to make the scene feel lively. Keep these small and simple.
Remember to vary the details. Repeating exactly the same flower or grass mark everywhere can make your picture look stiff.
Step 6: Outline and Color Your Garden
Look over your pencil sketch and erase any unnecessary construction lines. Once you are happy with the composition, darken the important outlines with a pencil or fine liner.
Use a natural color palette to bring the scene to life.
| Garden Element | Suggested Colors |
|---|---|
| Grass and bushes | Light green and dark green |
| Tree trunks and fence | Brown and tan |
| Flowers | Pink, red, yellow, purple, or orange |
| Garden path | Gray, beige, or light brown |
| Sky | Light blue with white clouds |
| Soil and flower beds | Brown and earthy shades |
Apply lighter colors first, then add darker shades beneath bushes, around tree trunks, and along the edges of the path. These small changes help separate objects from one another.
Little Reminder: You do not need perfect lines or realistic colors to make a beautiful garden drawing. Focus on a balanced scene and enjoy the process.
How to Draw an Easy Garden for Kids
Children can create a garden picture using a few basic shapes. This version is ideal for beginners who want a quick and enjoyable drawing activity.
- Draw a line across the paper for the ground.
- Add a big circle or cloud shape for a tree.
- Draw three or four flowers using circles and simple petals.
- Add stems and leaves beneath the flowers.
- Draw a small sun and two clouds in the sky.
- Color the grass green, the sky blue, and the flowers in favorite colors.
Children can also add a butterfly, a smiling sun, or a small fence to personalize their artwork.
An adult can demonstrate each step first, but let children choose their own colors and flower shapes. Their pictures do not have to match an example exactly.
Tips to Make Your Garden Drawing Look Beautiful
A few small changes can make your garden scenery drawing more attractive without requiring advanced drawing skills.
Create depth. Draw larger flowers and plants near the bottom of the page. Use smaller shapes in the background to suggest distance.
Mix flower sizes. Combine tall flowers with short ones. This creates a more natural flower bed.
Leave some open space. Do not cover every part of the paper with plants. Open areas help the main features stand out.
Use different shades of green. Light green can suggest sunlit leaves, while dark green adds depth beneath trees and bushes.
Add a focal point. A colorful flower bed, garden gate, or curved pathway can draw attention to one part of your picture.
Keep your outlines clean. Avoid tracing every tiny leaf. Clear shapes usually look better than too many small marks.
Common Garden Drawing Mistakes to Avoid
Beginners sometimes make their garden pictures harder to finish by adding too much detail too early.
Watch out for these common mistakes:
- Starting with tiny details: Sketch the main shapes first, then add leaves and petals.
- Making every flower identical: Change the height, size, and petal shape of different flowers.
- Forgetting the background: Include a sky, distant trees, or a fence to make the scene feel complete.
- Using only one shade of green: Combine light and dark greens to separate the plants.
- Drawing a crowded scene: Leave enough space around the path and main objects.
- Pressing too hard with the pencil: Use light lines until you are ready to finalize the drawing.
Final Tip: Step back and look at your picture before adding the final details. If the main shapes are clear and the garden feels balanced, you may not need to add anything else.
Frequently Asked Questions
How do you draw a garden step by step?
Start with the ground and horizon, then sketch a pathway, trees, bushes, and flowers. Add grass and small garden details before cleaning up the outlines. Finish by coloring the scene and using a few darker shades to create depth.
How do you draw a simple garden for beginners?
Use basic shapes such as circles for flower centers, ovals for petals, curved lines for a path, and rounded shapes for trees. Draw only a few plants at first. Once the layout looks balanced, add stems, leaves, and color.
How do you draw flowers in a garden?
Draw small circles for flower centers, add petals around them, and connect each bloom to a stem with leaves. Change the petal shapes and flower heights to create variety. Arrange the flowers in groups along the pathway or inside a flower bed.
How can you make a garden drawing look realistic?
Use different sizes for nearby and distant objects, add overlapping plants, and vary your shades of green. Place shadows beneath bushes and trees, and keep the background details smaller than the foreground. These techniques create depth without requiring advanced drawing skills.
What is the easiest garden drawing for kids?
A simple garden with a ground line, one tree, three flowers, a sun, and a few clouds is an excellent starting point. Children can draw these objects using circles, curved lines, and basic shapes, then color the picture however they like.
Final Thoughts
Learning how to draw a garden is easier when you build the picture one step at a time. Begin with the ground and pathway, add trees and flowers, and finish with grass, small details, and color.
You can make your garden simple or detailed depending on your skill level. Try different flower shapes, experiment with colors, and add personal touches to make the scene your own.
Writing Tip: If you are drawing for a school assignment, plan the main shapes lightly before coloring. A clear layout makes it easier to finish a neat, colorful garden picture.

I’m Ella Punster, a pun expert, and I create witty, fun, and clever puns ono Punvio to make your day brighter. Explore my unique wordplay and join me in celebrating the joy of humor